The Timber Framer's Toolkit – 15 Tools and Their Uses
Updated: December 15, 2025
Starting a timber framing project without the proper tools can lead to frustration, wasted materials, and imprecise joints that compromise structural integrity.
Many beginners waste money on unnecessary equipment while missing critical tools that professional timber framers consider non-negotiable.
This guide identifies the 15 essential tools every timber framer needs so you can build your toolkit strategically and avoid costly mistakes.
#1 Timber Framing Chisel Set
No tool is more fundamental to timber framing than a quality set of chisels. These aren't standard carpentry chisels; they're thicker, heavier, and designed to withstand the punishment of cutting large mortises and tenons in heavy timbers.
Professional timber framers typically own chisels ranging from 1 inch to 3 inches in width.
Look for thick blade construction that resists bending, high-carbon steel that holds an edge, comfortable handles that absorb shock, and beveled edges for versatility. A good chisel set will last decades with proper maintenance.
#2 Slick
The slick features a blade that typically measures 3 to 4 inches wide. This massive hand tool is pushed rather than struck, allowing timber framers to pare large surfaces smooth with long, controlled strokes.
The slick excels at cleaning up saw marks, flattening timber faces, and fine-tuning joint fits. Most slicks weigh between 3 and 5 pounds, with the tool's weight doing much of the work.
#3 Wooden Mallet
Strike a timber framing chisel with a metal hammer, and you'll quickly damage the handle. Wooden mallets deliver forceful blows without damaging chisel handles, and their weight provides momentum for cutting through hardwoods.
Beech and maple are popular mallet woods because of their density and durability. A 3- to 4-pound mallet provides enough force for most operations without causing fatigue.
#4 Hand Saw (Crosscut and Rip)
Despite the prevalence of power tools, hand saws remain indispensable. Japanese pull saws have revolutionized hand sawing in timber framing with their thin blades that cut on the pull stroke, providing better control and requiring less effort.
A quality hand saw excels at final trimming of tenon shoulders, cutting in tight spaces, and making adjustments during assembly.
#5 Circular Saw
For timber framing, a worm drive circular saw is the preferred choice. These powerful tools provide the torque needed to cut through thick timbers, and their inline motor design offers better visibility and balance.
A 10-inch blade can cut timbers up to 3.5 inches thick in a single pass. Many professional timber framers consider their circular saw the most-used power tool in their arsenal.
#6 Chain Mortiser
The chain mortiser revolutionized timber framing by automating the most labor-intensive task: cutting mortises.
This specialized power tool uses a chainsaw-like cutting chain mounted vertically to plunge into timbers, creating consistent mortise depth, clean square walls, and significant time savings.
Traditional mortising by hand could take hours for a single joint; a chain mortiser completes the same work in minutes.
#7 Beam Saw
Beam saws are large circular saws specifically designed for cutting heavy timbers. These robust machines feature powerful motors and large-diameter blades that slice through massive beams with precision.
Cutting large timbers to length, creating plumb cuts on posts, and roughing out shoulders on tenons all fall within the beam saw's capabilities, making it invaluable when working with dimensions that exceed standard circular saw capabilities.
#8 Framing Square
The framing square is the traditional tool for ensuring perpendicular corners and laying out complex cuts. A quality framing square features clearly marked graduations in inches and fractions, along with reference tables for calculating rafter lengths and angles.
Steel framing squares maintain accuracy better than aluminum versions. Check for etched markings rather than painted ones, as these remain legible after years of use.
#9 Bevel Gauge
Timber frame joinery involves numerous angled cuts that must fit together precisely. The bevel gauge is an adjustable tool that allows you to capture existing angles and transfer them to your work.
The simple design consists of a handle and a blade that locks at any angle, making it essential for complex roof structures, angled braces, and compound joinery.
#10 Marking Tools (Scribe, Pencil, and Chalk Line)
Accurate marking separates successful timber framing from frustrated attempts.
Essential marking tools include scribes or marking knives for precision layout work, carpenter's pencils for general marking on rough timbers, and chalk lines for marking long, straight lines across timber faces.
A timber framing scribe creates a fine, accurate line that won't rub off during handling. For joinery work requiring extreme precision, scribes surpass pencils significantly.
#11 Measuring Tape
A 25-foot tape measure serves most situations, though longer models prove useful when laying out larger frames. The best measuring tapes feature wide blades that extend further without bending, fractional graduations that are easy to read, and sturdy cases that survive drops.
Double-check every measurement before cutting. The old carpenter's maxim "measure twice, cut once" applies even more strongly to timber framing, where material costs are high and mistakes waste expensive stock.
#12 Draw Knife
The draw knife is a two-handled blade pulled toward the user, shaving wood from timber surfaces with remarkable control. Bark removal is where the draw knife truly shines, but the tool also excels at chamfering edges, creating decorative details, and removing minor imperfections.
Blade lengths typically range from 8 to 12 inches. A sharp draw knife in skilled hands removes material faster than many power tools while providing superior surface quality.
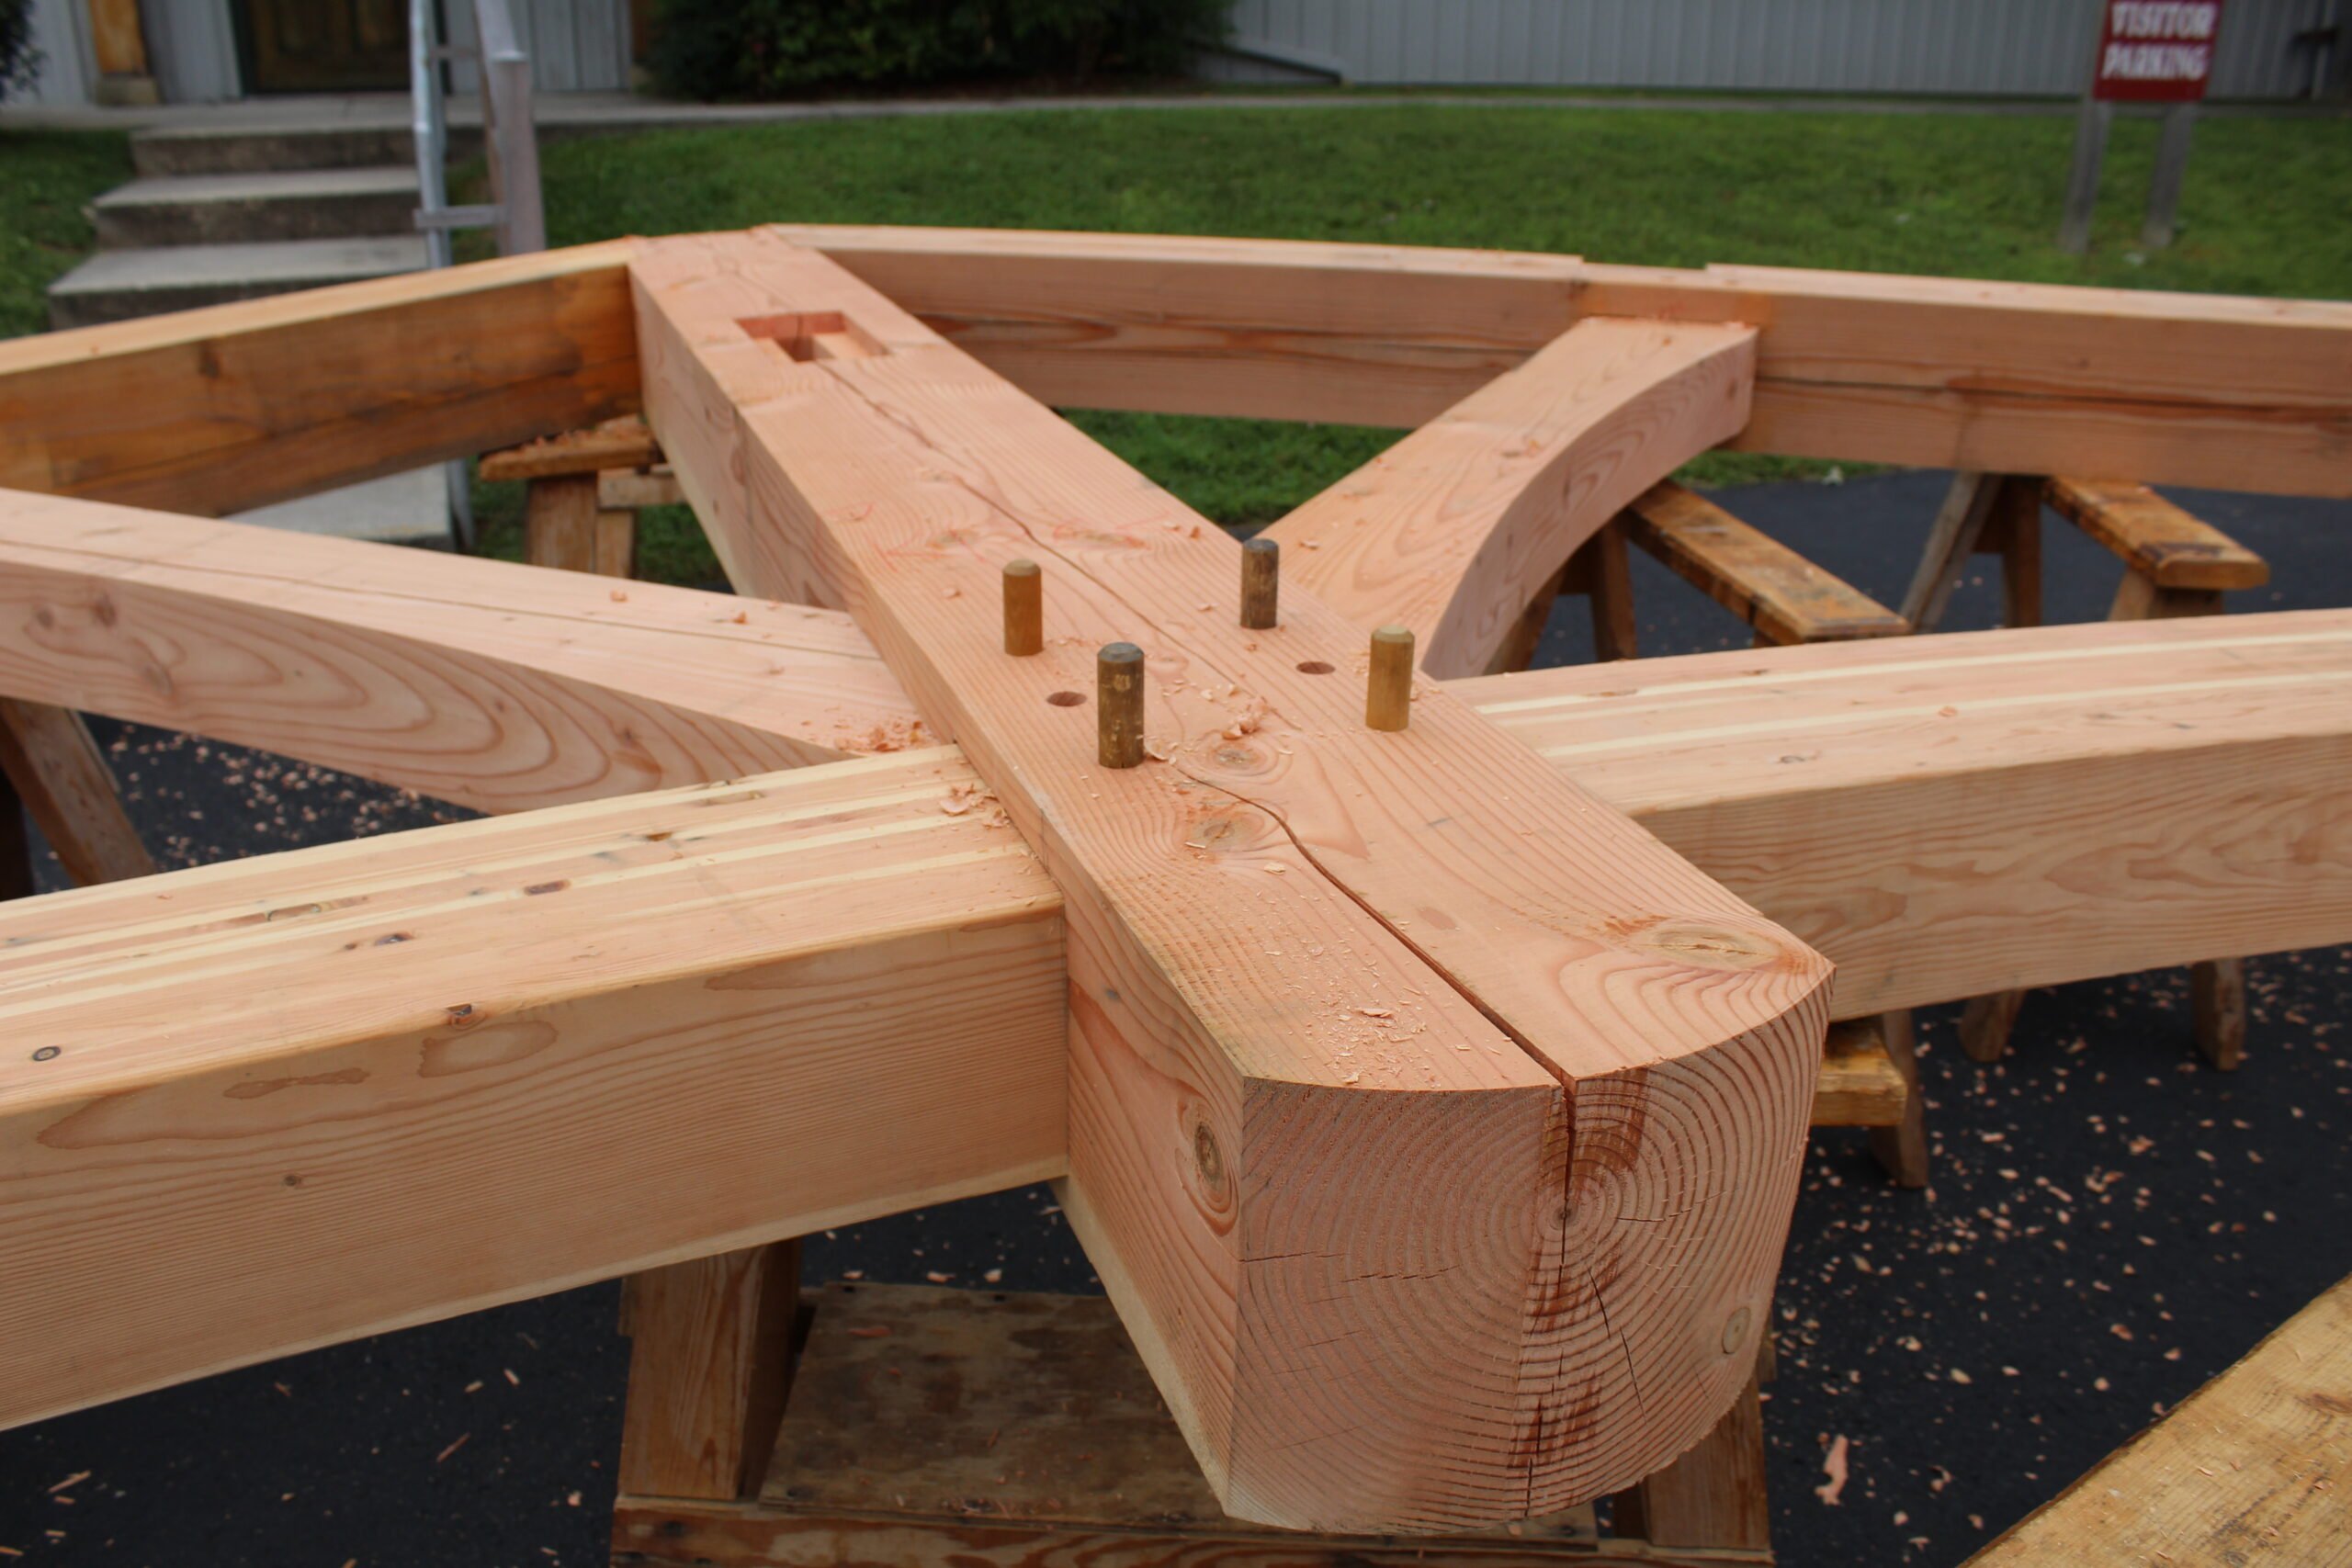
#13 Drill and Auger Bits
Timber frames require numerous holes for pegs, bolts, and electrical or plumbing runs. A powerful corded drill or high-capacity cordless model provides the torque necessary to drive large bits through dense hardwood timbers.
Auger bits are the traditional choice because their screw tips pull the bit through the wood while the cutting edges create clean holes.
Peg holes must align precisely between adjoining timbers, so using a drill guide or creating jigs ensures perpendicular holes that allow pegs to drive home correctly.
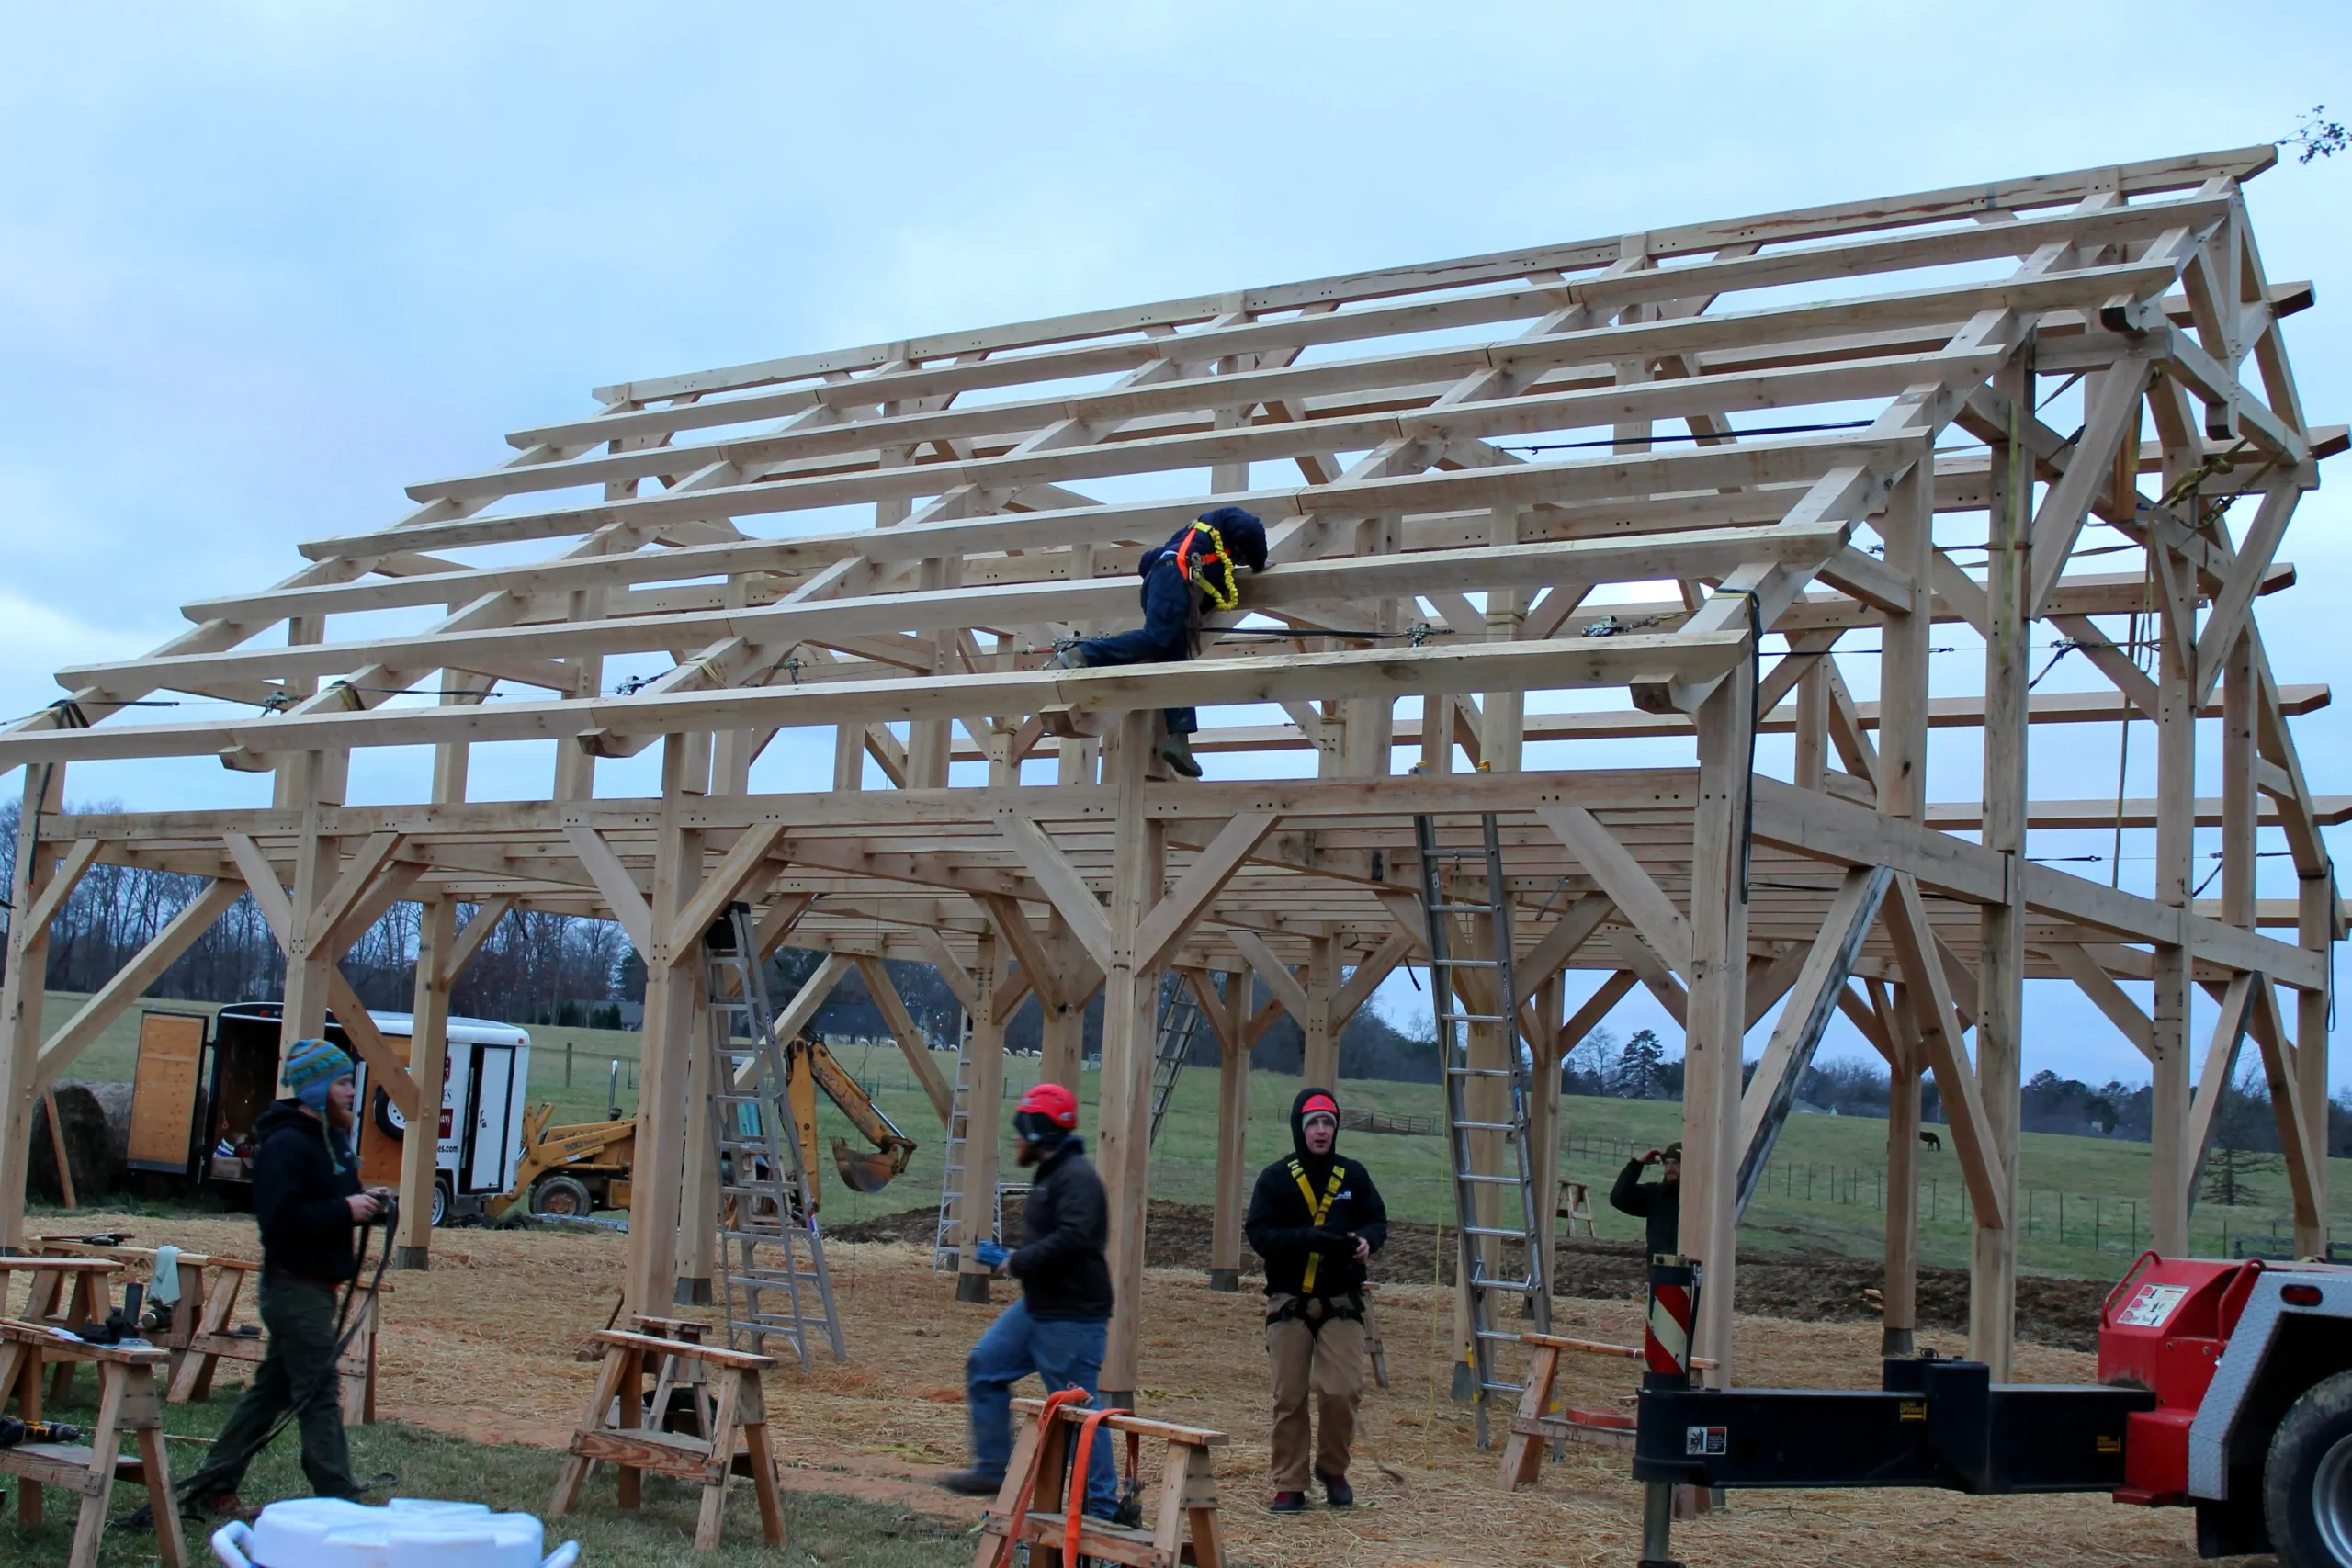
#14 Come-Along and Rigging Equipment
Raising a timber frame involves moving heavy beams into position, often at significant heights. Come-alongs, chain hoists, and rigging straps transform this dangerous task into a controlled operation.
A come-along is a hand-operated winch that uses a ratcheting mechanism to pull heavy loads. These tools can exert several tons of force, allowing small crews to position massive timbers precisely.
Never exceed a come-along's rated capacity, and always use appropriate slings or chains to attach to timbers.
#15 Levels and Plumb Bobs
A timber frame must be level and plumb to function correctly and look right. Long levels, typically 48 or 72 inches, provide accuracy when checking large timbers.
The plumb bob is an ancient technology that remains unsurpassed for establishing true vertical lines. A weight suspended on a string naturally hangs perpendicular to the earth, providing a reference that never requires calibration.
When raising posts or checking wall sections, the plumb bob provides instant, reliable feedback about vertical alignment.
Crafting Structures That Last for Generations
Building with timber frames connects you to centuries of craftsmanship and tradition. The tools in this guide are your gateway to creating structures that will stand for generations.
Start with the essentials, learn to use each tool properly, and watch your skills grow with every project you undertake.
Your journey as a timber framer begins with that first chisel cut, and every structure you build adds to the legacy of this magnificent craft.
Ready to assemble a timber frame home that will last for generations to come? Book your free consultation call with Homestead Timber Frames today to start designing the home of your dreams.